Introduction
Welcome to the second installment of our Azure Web Application Firewall (WAF) Security Lab series. In this tutorial, we’ll focus on reconnaissance techniques and demonstrate how Azure WAF protects against common web application vulnerability scanners.
Series Overview
- Part 1: Lab Setup – Building Your Azure WAF Testing Environment
- Part 2: Reconnaissance Playbook – Testing Azure WAF Protection (This post)
- Part 3: Vulnerability Exploitation Playbook – Azure WAF vs XSS
- Part 4: Data Disclosure and Exfiltration Playbook
Why Reconnaissance Matters
Before launching an attack, adversaries typically spend time researching their target. They use various tools to collect data and analyze potential vulnerabilities. Understanding how Azure WAF handles these reconnaissance attempts is crucial for building a robust security posture.
What You’ll Accomplish
By the end of this tutorial, you will:
- Run web application vulnerability scans against the OWASP Juice Shop app
- Compare scan results with and without Azure WAF protection
- Analyze Azure WAF’s response using the Azure Monitor Workbook
Prerequisites
- Completed Azure WAF security lab setup from Part 1
- Familiarity with basic web security concepts
The Reconnaissance Attack
We’ll simulate a reconnaissance attack using Nikto, an open-source web application vulnerability scanner. This tool is commonly used by both security professionals and attackers to identify potential vulnerabilities in web applications.
Setting Up the Scan
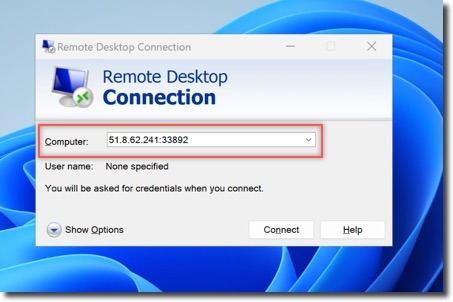
- Connect to your Kali Linux VM via RDP
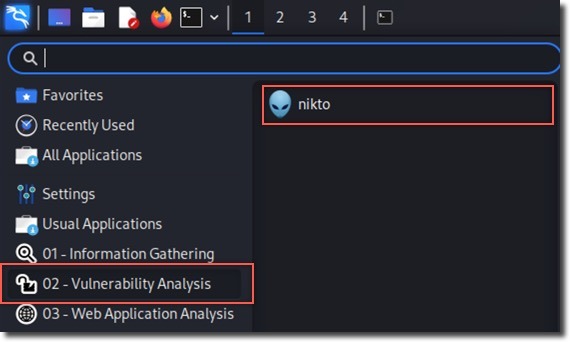
- Launch two instances of Nikto from Applications → Web Application Analysis → Web Vulnerability Scanners
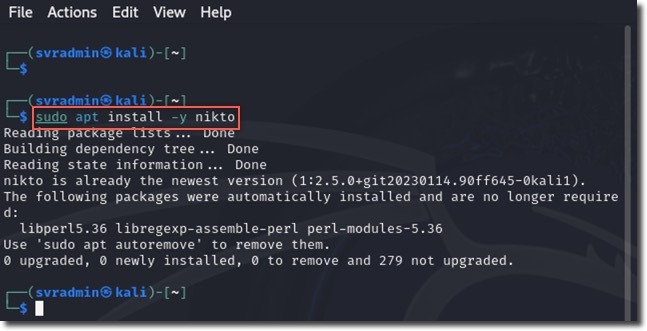
Tip: If Nikto isn’t installed, run
sudo apt install -y niktoin the terminal.
Running the Scans
Execute the following commands in separate Nikto windows:
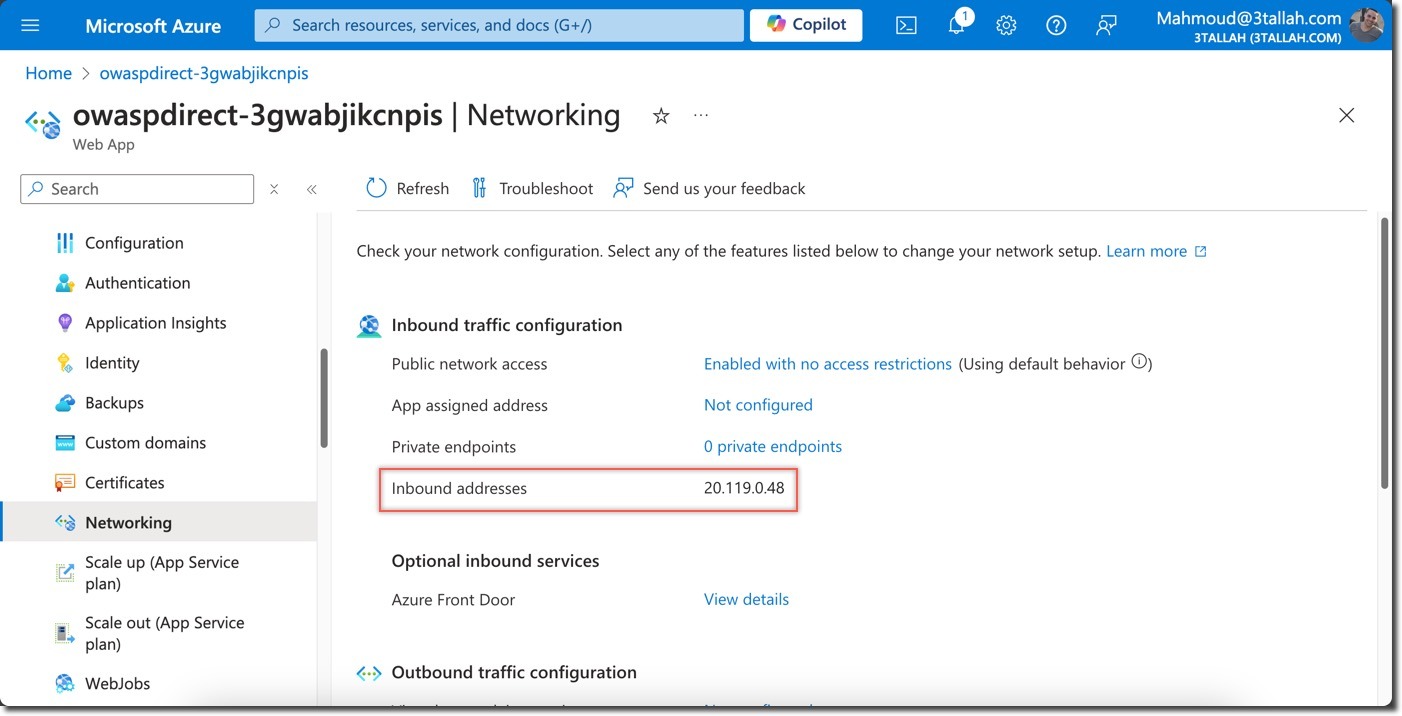
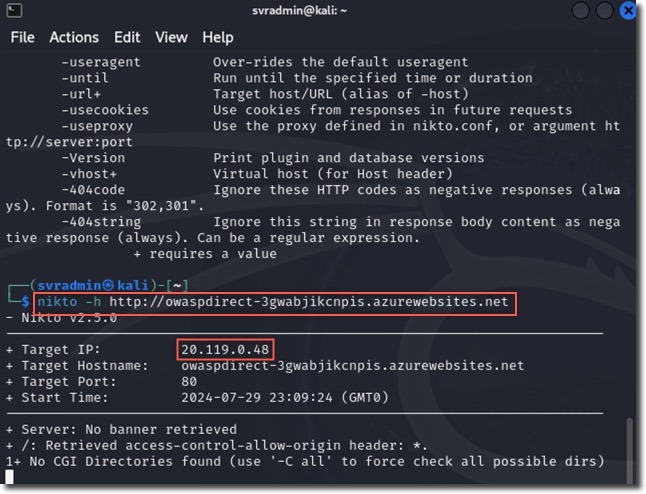
- Direct scan:
nikto -h http://owaspdirect-<deployment guid>.azurewebsites.net 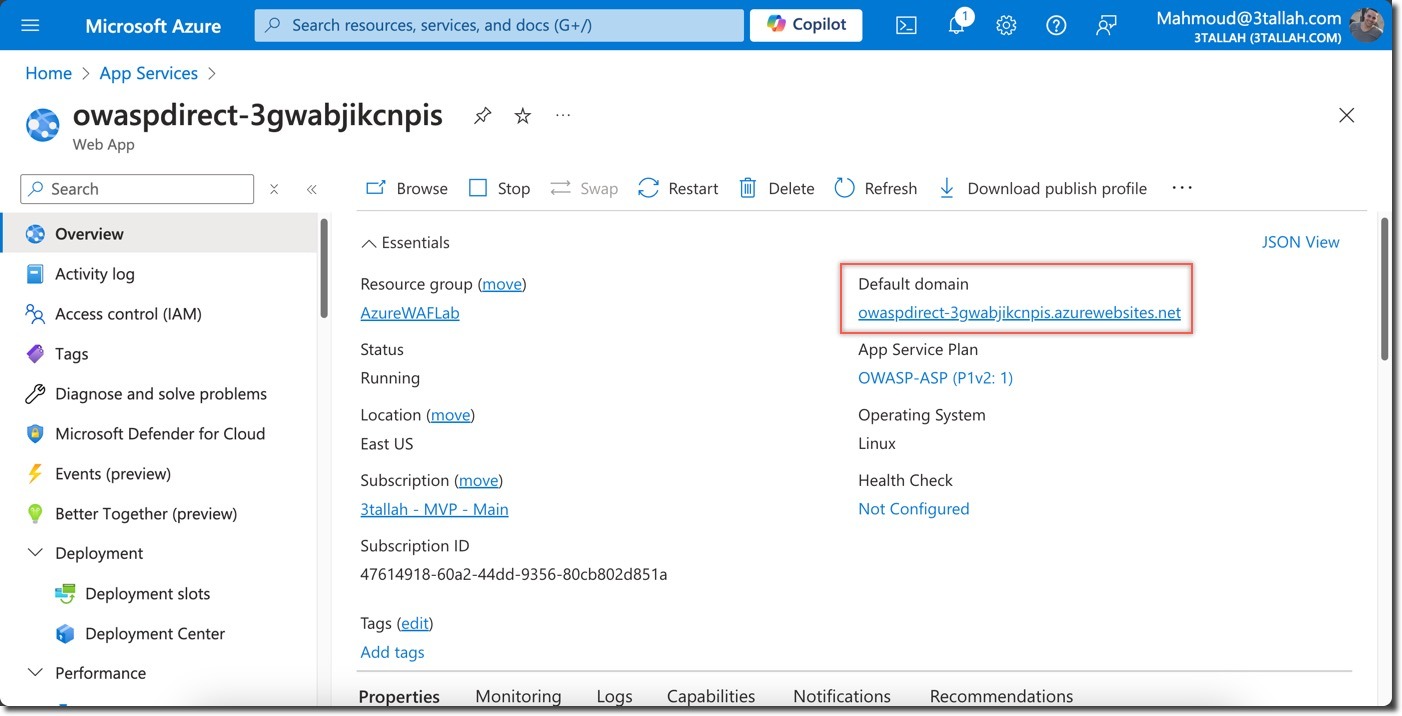
- WAF-protected scan:
nikto -h http://juiceshopthruazwaf.com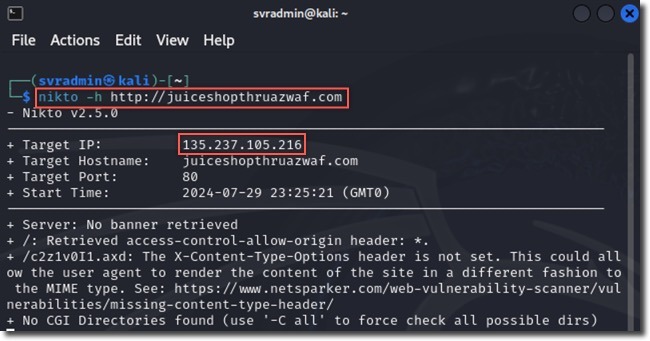
Tip: For verbose output, add
-Display vto the command. To save results, use-Save ./filename.htm.
Analyzing the Results
Direct Scan Results
The direct scan revealed:
- Over 7,000 requests sent
- 2 errors found
- 148 potential issues identified
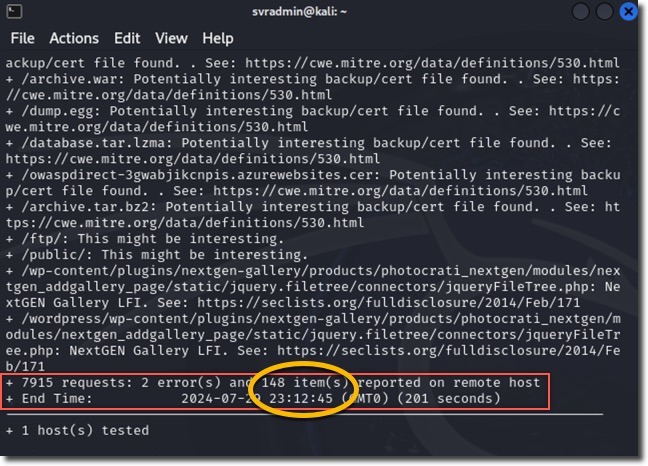
This wealth of information could be used by an attacker to develop further exploitation scenarios.
WAF-Protected Scan Results
The scan through Azure WAF showed:
- Over 3 times more requests were sent compared to the direct scan
- 2 errors reported
- 107 potential issues identified
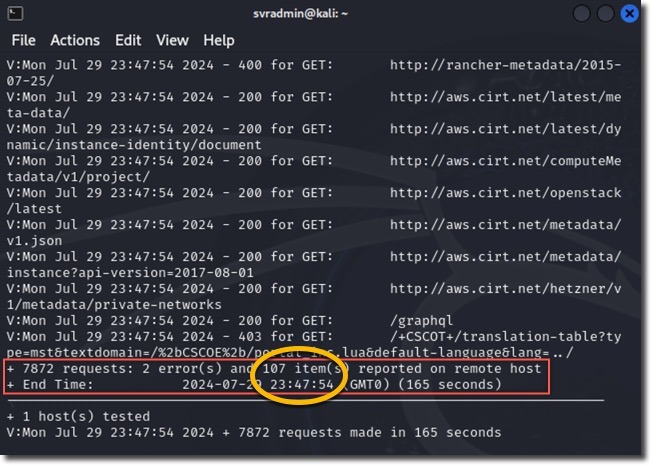
This dramatic difference demonstrates Azure WAF’s effectiveness in obscuring application details and blocking potentially malicious requests.
Understanding WAF’s Response
To dive deeper into how Azure WAF handled the scanner traffic, we’ll use the Azure Monitor Workbook for WAF.
Accessing the WAF Workbook
- Navigate to the Workbook blade in the Azure Portal
- Select the WAF workbook deployed for this lab
- Set appropriate filters for Time Range, WAF Type, and WAF Items
Key Insights from the Workbook
- WAF Actions: Review the number of matches and blocked requests
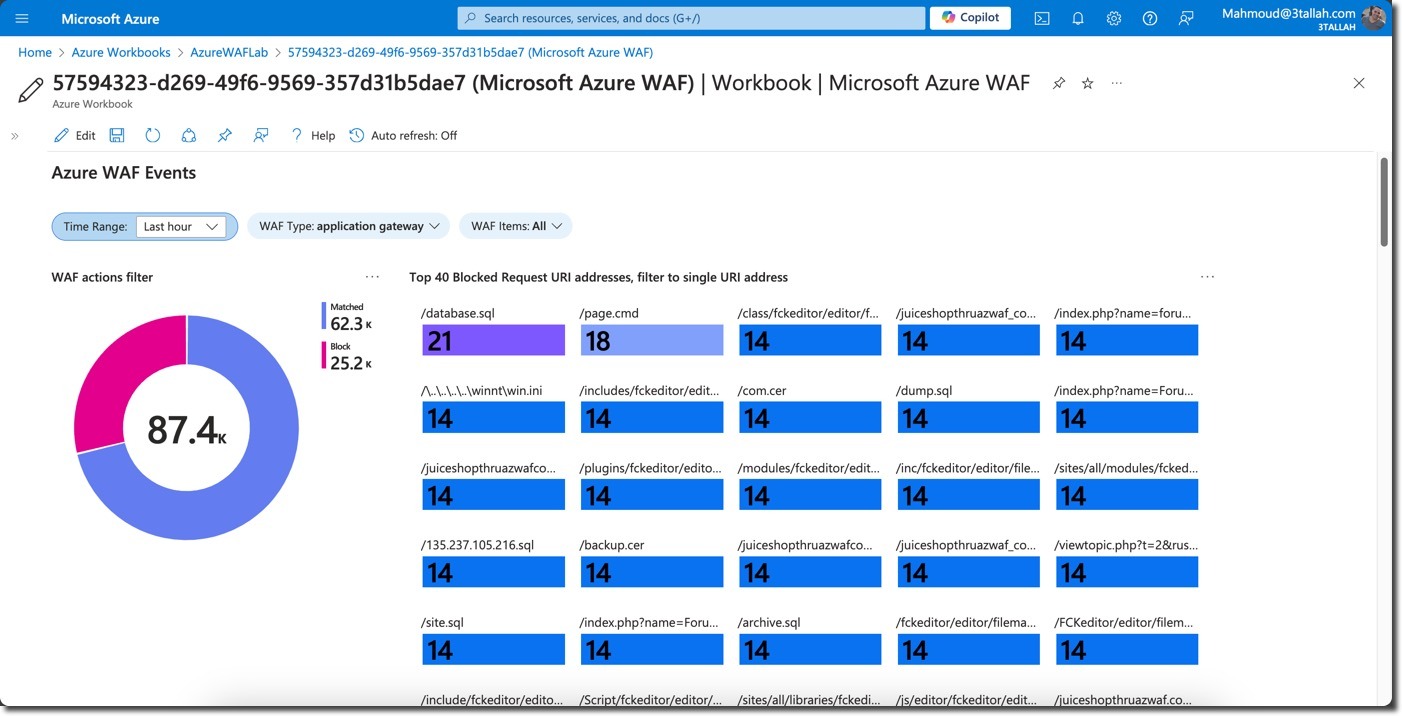
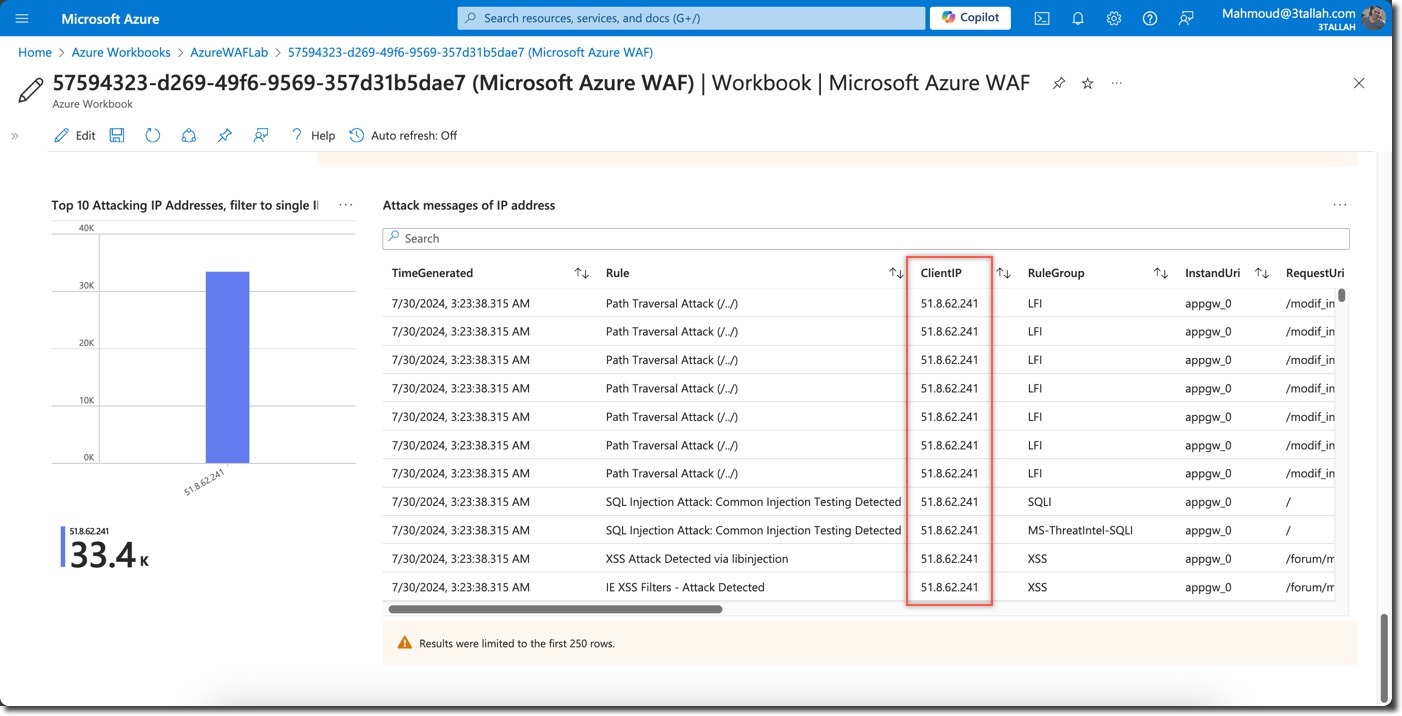
- Top Blocked Request URIs and Client IPs: Identify which paths triggered WAF rules most frequently
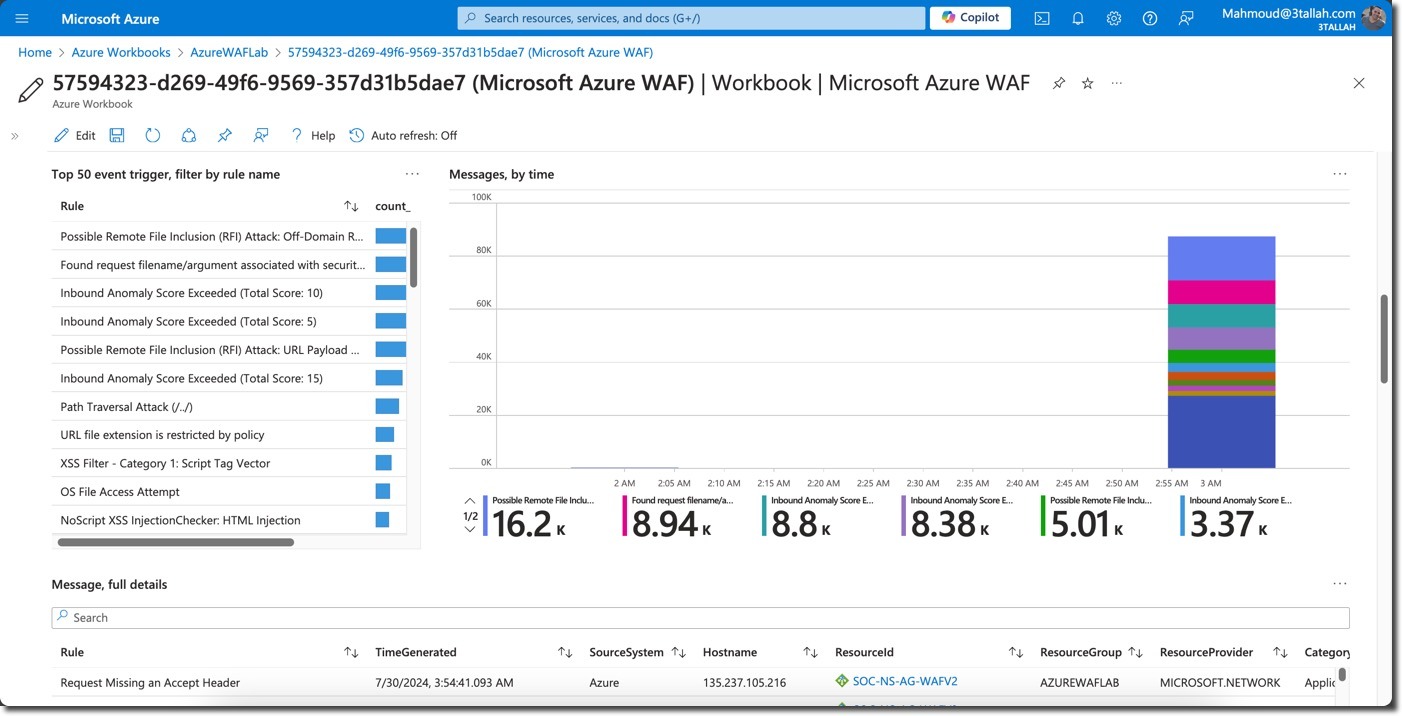
- Top Event Triggers: Analyze which WAF rules were activated by the scanner traffic
- Log Analytics Detailed Logs: Review WAF Blocked Logs using Azure Log Analytics Logs
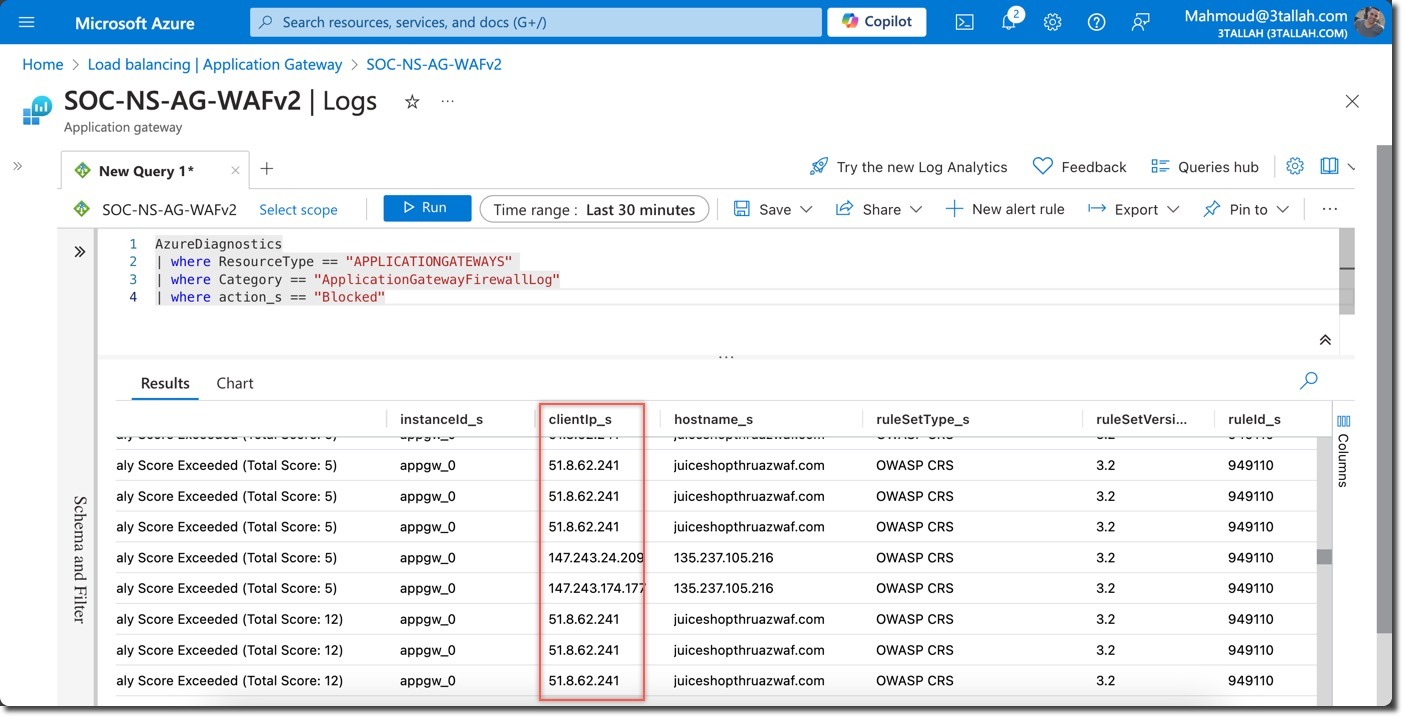
- Also you can use the below KQL code to review more details about blocked requests
AzureDiagnostics
| where ResourceType == "APPLICATIONGATEWAYS"
| where Category == "ApplicationGatewayFirewallLog"
| where action_s == "Blocked"
Notable WAF Rules Triggered
Some of the top rules that caught the scanner’s activity include:
- Found a User-Agent associated with a security scanner
- Request Missing an Accept Header
- SQL Injection Attack: Common Injection Testing Detected
- Path Traversal Attack (/../)
- XSS Attack Detected via lip injection
This shows that Azure WAF successfully identified various types of probing attempts typical of security scanners.
Key Takeaways
- Security scanners are powerful tools for both defenders and attackers to assess web application vulnerabilities.
- Azure WAF significantly reduces the effectiveness of these scanners by:
- Blocking suspicious requests
- Obscuring application details
- Detecting and mitigating common attack patterns
- The out-of-the-box ruleset in Azure WAF provides robust protection against reconnaissance attacks at the network edge.
By implementing Azure WAF, you can dramatically reduce the information exposed to potential attackers during the reconnaissance phase, making it much harder for them to plan and execute successful attacks.
Next Steps
Now that we’ve seen how Azure WAF handles reconnaissance attempts, we’re ready to dive deeper into specific attack scenarios. In our next tutorial, we’ll explore the “Vulnerability Exploitation Playbook” and test Azure WAF’s capabilities against more targeted attack techniques.
Stay tuned, and keep your lab environment ready for more exciting security testing!

