Table of Contents
Azure Container Instances Overview
if you are using containers or just started you should definitely check out other container instances, today I will give you a brief on how can you deploy ACI using Azure CLI
before we start with what container instances are, let’s talk about What are containers?
A container is a standardized unit of software, what does this mean?
It has just a package software that should be able to run reliably between each another computing environment so that sounds very similar to what virtual machines are so let’s talk about
What is the difference between virtual machines and containers?
So in the case of virtual machines, there’s always a host, the host is created from the infrastructure on top of which there’s a hub hypervisor running this hypervisor is responsible for hosting virtual machines and managing them so there’s always a virtual machine on which you always have something called guest operating system so, therefore, you need to virtualize an entire operating system for you to be able to host your application and you need to do that again for every single application.
When it comes to containers you also have a host that hosts again the infrastructure but what’s a difference here is, you have a host operating system on top of which something called run time this run time is responsible for hosting and managing containers but what is good here is that from here onwards you can just host containers, you no longer need that guest operating system for each application and each container, therefore, releasing a lot of unnecessary resources which allow you to host more containers and more applications
So the main difference here
Less development overhead so your developers don’t need to create those images for virtual machines which takes a lot of time. Creating containers take just minutes as you’ve seen there are no guest operating systems, so there are much fewer resources consumed, also since there’s no guest operating system loaded into the container the file itself is in a much smaller size it’s from hundreds of megabytes down to 20 30 megabytes of size since the small size is there and the less consumption is required that means they also are starting up faster you can get your containers running in just seconds.
Here are some of Azure Container Instances (ACI) benefits:
- Fast startup: Launch containers in seconds.
- Per second billing: Incur costs only while the container is running.
- Hypervisor-level security: Isolate your application as completely as it would be in a VM.
- Custom sizes: Specify exact values for CPU cores and memory.
- Persistent storage: Mount Azure Files shares directly to a container to retrieve and persist state.
- Linux and Windows: Schedule both Windows and Linux containers using the same API.
Lets Practice Azure Container Instances using Azure CLI Commands
Create Resource Group
Create a new resource group with the name RG-ACI-Exercise so that it will be easier to clean up these resources when you are finished with the module. If you choose a different resource group name, remember it for the rest of the exercises in this module. You also need to choose a region in which you want to create the resource group, for example, West Europe.
az group create --name RG-ACI-Exercise --location westeurope

Specifying a DNS name label with Random VARs
DNS_NAME_LABEL=aci-demo-$RANDOM

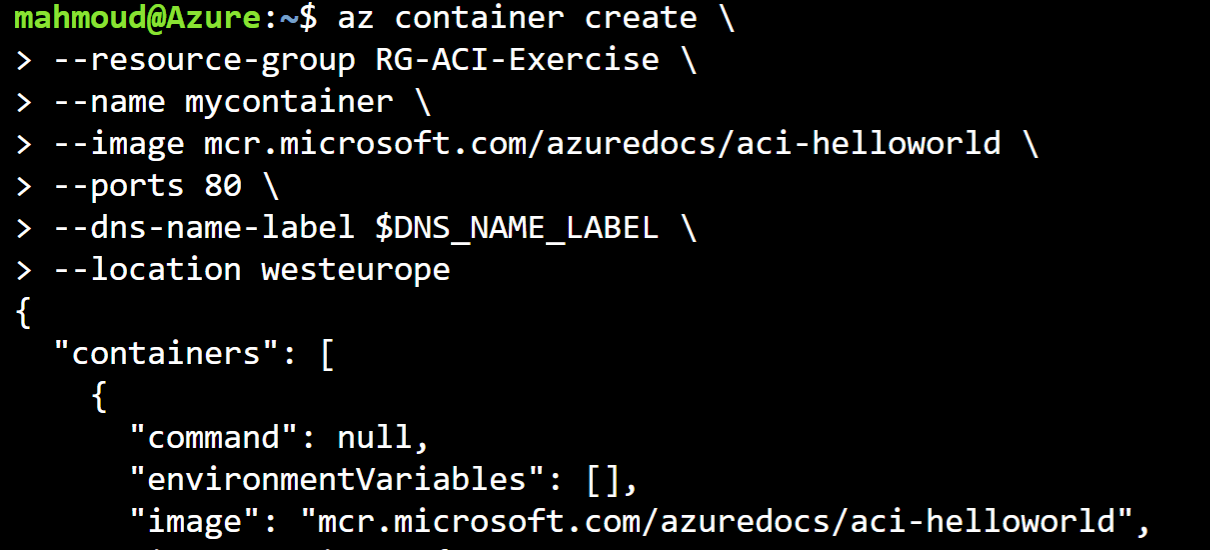
Create Azure Container
az container create \
--resource-group RG-ACI-Exercise \
--name mycontainer \
--image mcr.microsoft.com/azuredocs/aci-helloworld \
--ports 80 \
--dns-name-label $DNS_NAME_LABEL \
--location westeurope
Show container Details
az container show \
--resource-group RG-ACI-Exercise \
--name mycontainer \
--query "{FQDN:ipAddress.fqdn,ProvisioningState:provisioningState}" \
--output table
You see your container’s fully qualified domain name (FQDN) and its provisioning state. Here’s an example.

Show container IP
az container show --name mycontainer --resource-group RG-ACI-Exercise --query "{FQDN:ipAddress.ip}" --output table
What are container restart policies?
Azure Container Instances has three restart-policy options:
| Restart policy | Description |
|---|---|
| Always | Containers in the container group are always restarted. This policy makes sense for long-running tasks such as a web server. This is the default setting applied when no restart policy is specified at container creation. |
| Never | Containers in the container group are never restarted. The containers run one time only. |
| OnFailure | Containers in the container group are restarted only when the process executed in the container fails (when it terminates with a nonzero exit code). The containers are run at least once. This policy works well for containers that run short-lived tasks. |
Create a container with Restart Policy
az container create \
--resource-group RG-ACI-Exercise \
--name mycontainer-restart-demo \
--image mcr.microsoft.com/azuredocs/aci-wordcount:latest \
--restart-policy OnFailure \
--location westeurope
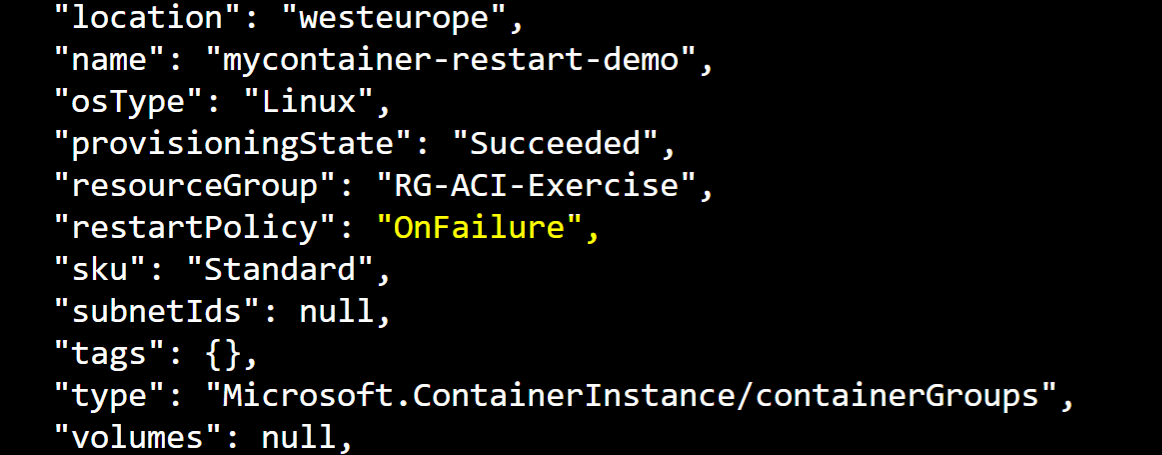
Azure Container Instances starts the container and then stops it when its process (a script, in this case) exits. When Azure Container Instances stops a container whose restart policy is Never or OnFailure, the container’s status is set to Terminated.
Show container Status
az container show \
--resource-group RG-ACI-Exercise \
--name mycontainer-restart-demo \
--query "containers[0].instanceView.currentState.state"

Show container Logs
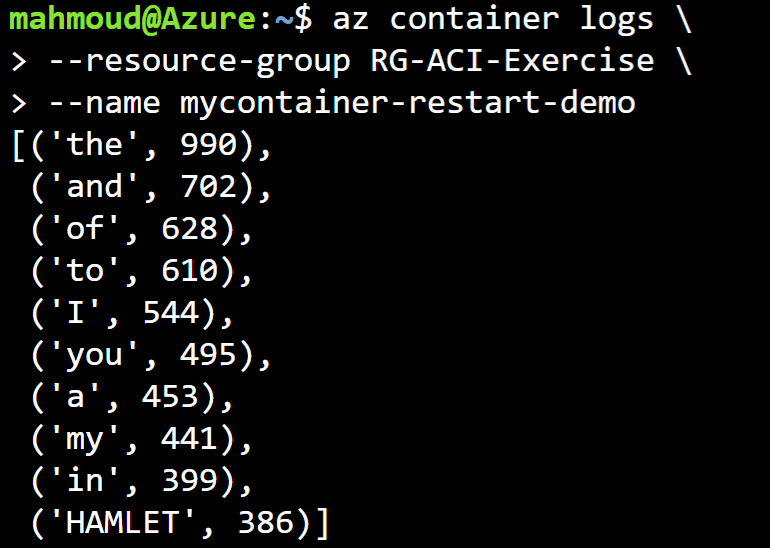
View the container’s logs to examine the output. To do so, run az container logs like this.
az container logs \
--resource-group RG-ACI-Exercise \
--name mycontainer-restart-demo
Deploy Azure Cosmos DB
Specifying a DNS name label with Random VARs
When you deploy Azure Cosmos DB, you provide a unique database name. For learning purposes, run this command in Cloud Shell to create a Bash variable that holds a unique name.
COSMOS_DB_NAME=aci-cosmos-db-$RANDOM
COSMOS_DB_ENDPOINT=$(az cosmosdb create \
--resource-group RG-ACI-Exercise \
--name $COSMOS_DB_NAME \
--query documentEndpoint \
--output tsv)

COSMOS_DB_MASTERKEY=$(az cosmosdb keys list \
--resource-group RG-ACI-Exercise \
--name $COSMOS_DB_NAME \
--query primaryMasterKey \
--output tsv)

Create a container that works with your database
The two environment variables you created in the last part, COSMOS_DB_ENDPOINT and COSMOS_DB_MASTERKEY, hold the values you need to connect to the Azure Cosmos DB instance.
Create a container with Cosmos DB
Run the following az container create command to create the container.
az container create \
--resource-group RG-ACI-Exercise \
--name aci-demo \
--image mcr.microsoft.com/azuredocs/azure-vote-front:cosmosdb \
--ip-address Public \
--location westeurope \
--environment-variables \
COSMOS_DB_ENDPOINT=$COSMOS_DB_ENDPOINT \
COSMOS_DB_MASTERKEY=$COSMOS_DB_MASTERKEY
Show container that works with your database
az container show \
--resource-group RG-ACI-Exercise \
--name aci-demo \
--query ipAddress.ip \
--output tsv

In a browser, go to your container’s IP address, Once the app is available, you’ll see this.
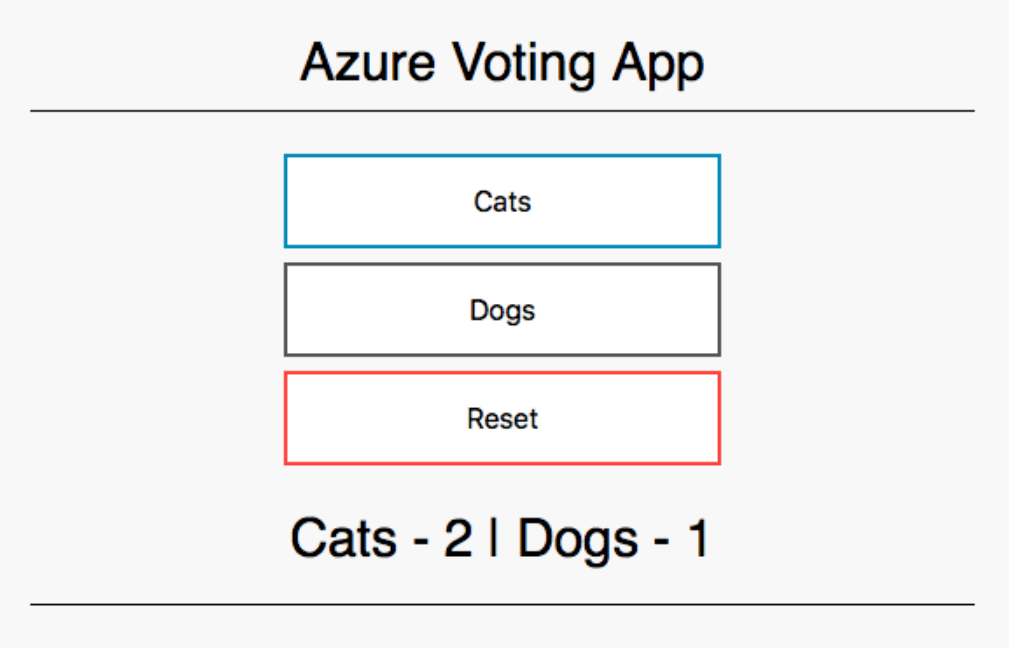
Try casting a vote for cats or dogs. Each vote is stored in your Azure Cosmos DB instance.
Use secured environment variables to hide connection information
Display your container’s environment variables
az container show \
--resource-group RG-ACI-Exercise \
--name aci-demo \
--query containers[0].environmentVariables
Create a second container, named aci-demo-secure, that makes use of secured environment variables
az container create \
--resource-group RG-ACI-Exercise \
--name aci-demo-secure \
--image mcr.microsoft.com/azuredocs/azure-vote-front:cosmosdb \
--ip-address Public \
--location westeurope \
--secure-environment-variables \
COSMOS_DB_ENDPOINT=$COSMOS_DB_ENDPOINT \
COSMOS_DB_MASTERKEY=$COSMOS_DB_MASTERKEY


